Introduction
Tutorials
Improving a discharge simulation
A geometry configuration describes the lengths and angles of the different casing, liner or open-hole sections of a well, with their diameters and roughness.
This tutorial shows you how to enter a geometry configuration for a deviated well:
Before you enter a geometry configuration for a deviated well, enter a well deviation and a casing configuration for the well. This tutorial uses:
The well deviation Actual deviations you should have entered earlier.
The casing configuration Actual casings you should have entered earlier.
If you are not sure what to do here, review the tutorial to enter a geometry configuration.
In the sample database, click Geometry configuration under  .
.
Right-click in the empty row under Description to pop up a menu; click New. WellSim creates a new geometry configuration.
Enter this data:
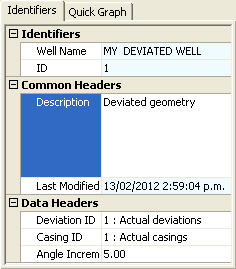
NOTE:
Deviation ID: Choose from the drop-down list a well deviation that you entered earlier.
Casing ID: Choose from the drop-down list a casing_configuration that you entered earlier.
Angle increment: WellSim will split a section of casing into two or more pieces at different angles if the difference in angle between the top and bottom of the section of casing is greater than the angle increment. Usually 5 degrees is a good value. If the angle increment is too small, WellSim slows down. If the angle increment is too big, WellSim is slightly less accurate.
Measure all depths relative to the same point at the wellhead read more.
Click  . There should be no errors.
Click  . WellSim calculates the geometry configuration from the well deviation, casing configuration and angle increment:
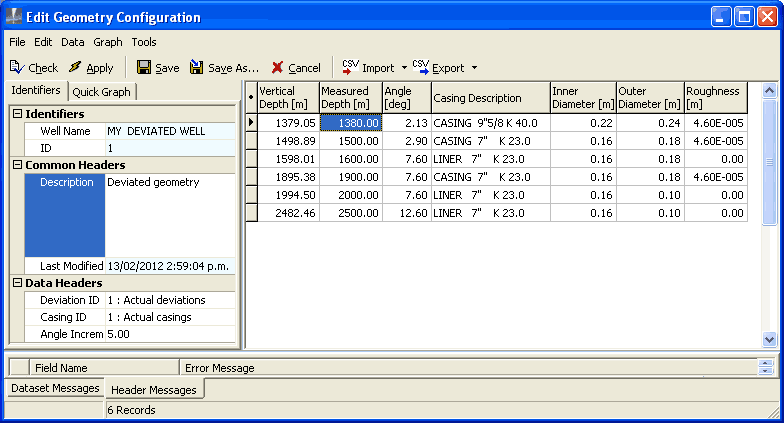
WellSim calculates the average angle of each section of casing. Note that WellSim has split the bottom section of slotted liner into two, at different angles, because the liner deviates more than the angle increment of 5 degrees.
Click  to save the data and exit.